Over the years, as I've worked on collections and witnessed the successes of my fellow designers, the one asset that I think proves the most valuable is the ability to take fantastic product photos. A great photograph of a design will increase the professional look and feel of a website and promotional materials, and will capture the attention of buyers.
This is an area that I've always struggled with. I would never recommend amateur photography over professional photography - professional photography is an investment. But, it's also something that small time designers and early career artists can't necessarily afford just yet. So, while the tech-gen with their access to iPhones and Photoshop cannot hope to meet the skills of a professional with a beautiful camera, we can use some tricks to make our photos stand out.
The best of these (in my opinion) is the photography light box. A light box will create a soft, ambient lighting while erasing corners in order to minimise background distractions. Usually white, a lightbox might also have a coloured or greyscale background, or utilise a blue or green screen background that can be removed in post-production, and the sides and edges are curved softly with invisible seams.
Light boxes are not that expensive - you can purchase one from eBay for between $50-$60. That said, not every designer has access to those kinds of funds, and sometimes it's just more fun to make it yourself!
A great tutorial that uses fabric and cardboard is here: www.wikihow.com/Create-an-Inexpensive-Photography-Lightbox
I didn't really like the fabric concept, and I already had many of the materials to hand for the idea I've been working on, so I went with my own design instead. To make my quick, very basic version, I used:
- Sticky tape, already on hand
- Scissors, already on hand
- Regular cartridge paper, bought from a local art shop for another project
- Tracing paper, bought from a local art shop for another project
- A white metal frame, which I bought from the Green Shed for less than $1.00
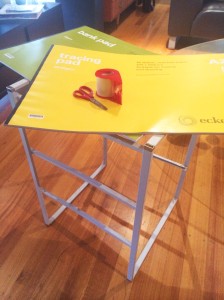
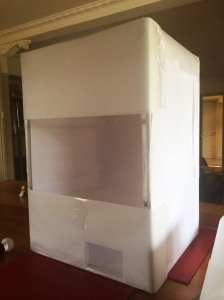
I started by wrapping the frame in the cartridge paper, so that it becomes a white box with an open front. In retrospect, the cardboard box in the tutorial above would be a million times easier to use, but the benefit of the frame is that it becomes an opaque ambient light filter from all directions.
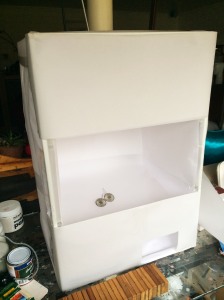
Once the frame was covered, I added a curved base into the bottom using the tracing paper. The paper curved up from the front, inner corner of the frame to the back, upper corner. This was the final result:
You can see that I left a hole in the bottom of the box in which to add a light, but this didn't actually work. It still has merit as a way to add a stand on which to place heavier objects without having the stand appear in the image, though, so I wasn't worried.
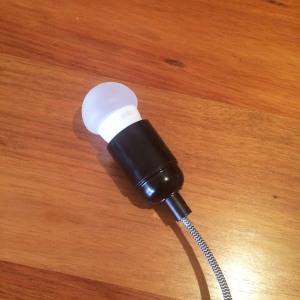
Next, I placed my piece into the box. The whole space was then lit with a simple hand-held exposed bulb. Mine has a low, warm light, but I think a low, cool light would be better. I held it in place, but a stand, directional lamp would be better, especially if it can be covered lightly with a diffusing screen. More experiments, though, for next time!
This was the final set up:
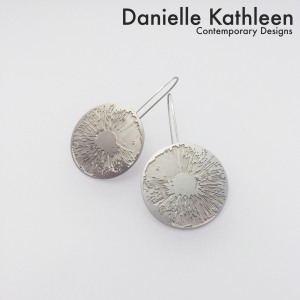
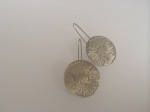
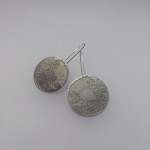
I took the photos with my iPhone. I do actually have access to a camera, but iPhone technology is already better than the lovely (but old) camera my parents bought 15 years ago. The basic photo, without editing, already seemed promising. I took a few dozen, so that when I loaded it to my computer I could pick the best one.
|
I thought it turned out quite nicely for paper and an iPhone! What do you think?

